

Setting up ArgoCD in Kubernetes with Azure OIDC and RBACs

ArgoCD is like your trusty sidekick, helping you deploy apps without breaking a sweat. Now, imagine giving it the power of Azure Open ID Connect (OIDC) for Single Sign-On (SSO). It's like fitting your sidekick with a superhero cape – authentication just got a whole lot snazzier. And for the security buffs, Role-Based Access Control (RBAC) is the secret agent ensuring only the right folks get access.
FYI: The post was written before Microsoft changed the name of Azure AD to Microsoft Entra ID. It doesn't change anything in the tutorial except the references to AAD that should point to Entra ID now.
Prerequisites:
A Kubernetes cluster up and running.
kubectlcommand-line tool installed.Helm installed on your local machine.
ArgoCD installed (See our previous article in this serie).
AAD configured.
Step 1: Azure AD App Registration
Before setting up ArgoCD, you need to register an application in AAD to obtain the necessary credentials. Follow these steps:
Go to the Azure portal and navigate to the "Azure Active Directory" section
In the "Azure Active Directory" menu, go to "App registrations" and click on "New registration"
Fill in the required details:
Name: Enter a meaningful name for your application
Supported account types: Choose the appropriate option
Redirect URI: Set this to the callback URL where Azure AD will send OAuth responses. By default, the format is https://
<ARGOCD_SERVER_URL>/auth/callback
After registration, note down the "Application (client) ID" and "Directory (tenant) ID" from the application overview page
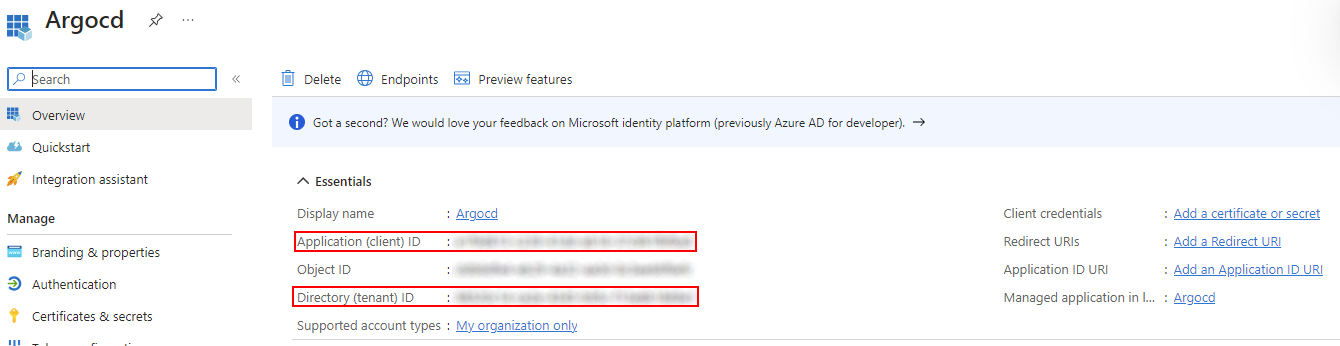
In the left sidebar, go to "Certificates & Secrets" to create a new client secret. Note down the generated secret value immediately
Setting up permissions for the app:
Go to the "API permissions" section
Click on "Add a permission" and select
User.ReadClick on "Grant admin consent" to ensure the permissions are granted
Go to the "Token configuration" section
Click on "Add groups claim" and "Save" (leave everything by default)
Assign an AzureAD group to access ArgoCD:
In the "Azure Active Directory" menu, go to "Entreprise applications" and search for the app we just created
Go to the "Users and groups" section
Add the group you want
Note down the ID of that group as
<AZURE_AD_GROUP>
Step 2: Configure Azure OIDC for ArgoCD
Edit the "argocd-secret" to add the <CLIENT_SECRET> in base64:
data:
  oidc.azure.clientSecret: <CLIENT_SECRET_b64>
To convert the string:
echo '<CLIENT_SECRET>' | base64
Step 3: Configure ArgoCD with Azure OIDC
Edit the ArgoCD Server ConfigMap to enable Azure OIDC:
kubectl edit configmap argocd-cm -n argocd
Add the following section to the ConfigMap:
data:
  url: <ARGOCD_SERVER_URL>
  oidc.config: |
    name: Azure
    issuer: https://login.microsoftonline.com/<TENANT_ID>/v2.0
    clientID: <CLIENT_ID>
    clientSecret: $oidc.azure.clientSecret
    requestedScopes:
      - openid
      - profile
      - email
    requestedIDTokenClaims:
      groups:
        essential: true
Replace <ARGOCD_SERVER_URL>, <TENANT_ID>, and <CLIENT_ID> with your specific values obtained earlier.
Step 4: Set Up RBAC for ArgoCD
Edit the ConfigMap "argocd-rbac-cm" with your RBAC configuration:
data:
  policy.csv: |
    g, <AZURE_AD_GROUP>, role:readonly
Replace <AZURE_AD_GROUP> with the Azure AD group you want to grant read-only access to.
As in this case we work only with the group id, we can edit the scope to work only on "groups":
data:
  scopes: '[groups]'
Built-in roles are readonly and admin. For further customization, see ArgoCD's documentation.
Step 5: Restart ArgoCD Server
kubectl rollout restart deployment argocd-server -n argocd
Step 6: Log in with Azure AD
Visit the ArgoCD Web UI, click on "Log in via Azure" and you should be redirected to the Azure AD login page. Log in with your Azure AD credentials.
Step 7: Verify RBAC
Check that RBAC is working by ensuring that users in the specified Azure AD group have read-only access to ArgoCD.
Step 8: Disable Local Admin Account
To finalize our configuration, we will now disable the local admin account for security purpose. To do so, edit the "argocd-cm" ConfigMap to add/modify this parameter:
data:
  admin.enable: "false"
Now the only login option is through your AzureAD SSO!
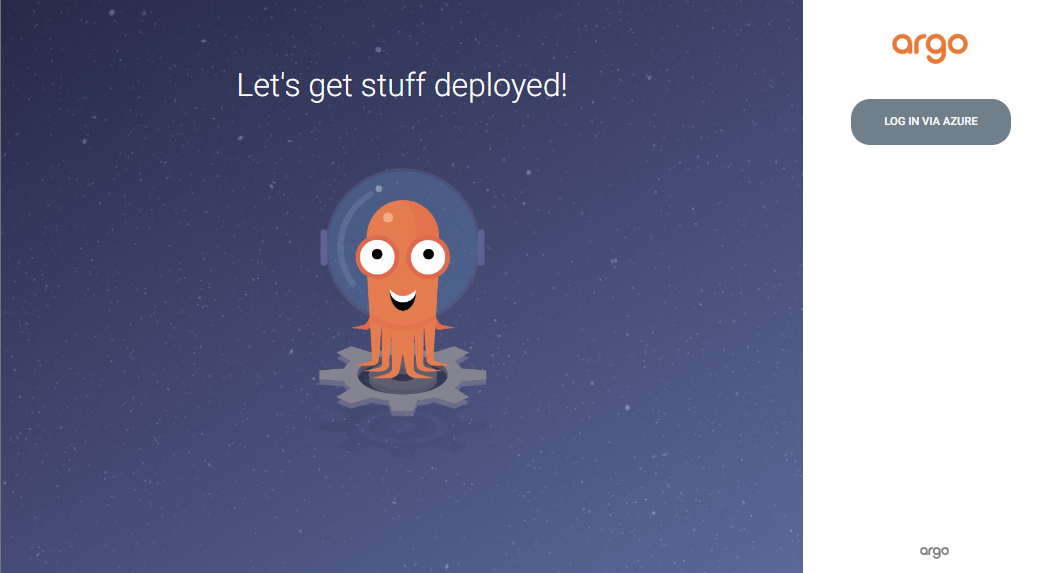
Congratulations! You've successfully set up ArgoCD with Azure OIDC for Single Sign-On, configured RBAC for user permissions and disabled the local admin account for enhanced security.
Thank you for following along! If you have any feedback, questions, or suggestions for improvement, feel free to reach out. Remember, this tutorial serves as a foundation, and there's always more to explore and customize based on your specific use cases and requirements.
Happy deploying! — The Cisel's DevOps Team